At a cousin’s wedding about six years ago, I first laid eyes on a Pothos plant (Epipremnum aureum). They were rooted in themed containers and gave off a tranquil ambiance.
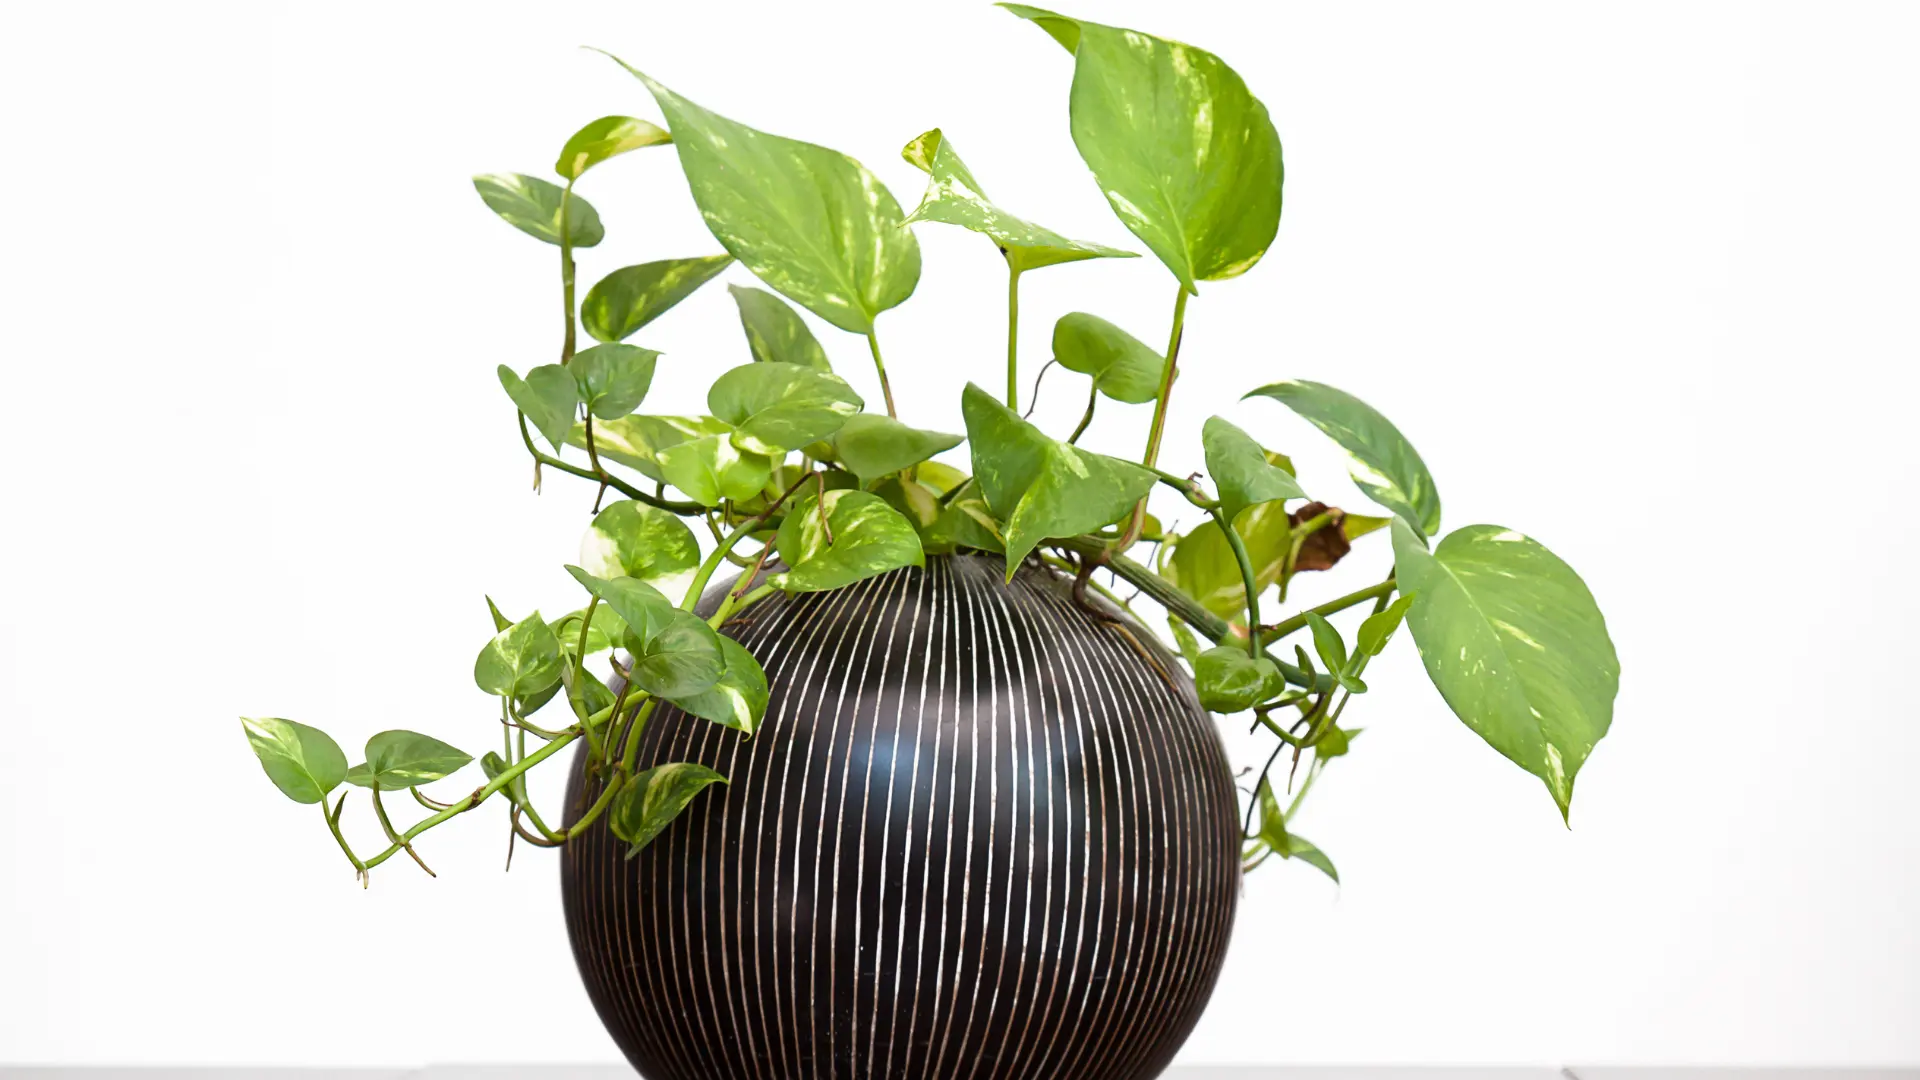
I couldn’t take my eyes off them; what appealed to me was their lush green essence and overall simplicity in outline: I knew immediately I would have a garden full of the Devil’s Ivy soon in my home.
I began working on my Pothos garden eight weeks later, and I was so relieved when I realized how easy they were to propagate. A Pothos plant doesn’t require special growing conditions to be reproduced; a normal gardening situation will do just fine.
Let’s delve into the process of propagating Pothos Plants.
How to Propagate from Stem Cuttings
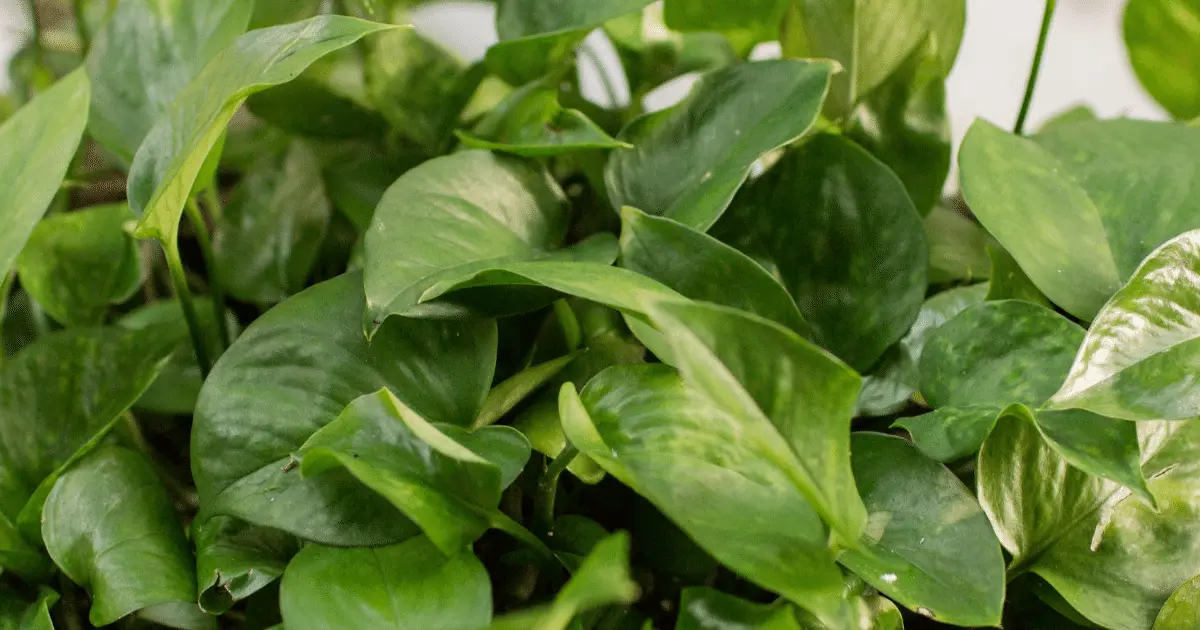
The method of propagating the Pothos plant (also called Devil’s Ivy) is by growing the stem cuttings of a parent Pothos.
- Begin by cleaning up your cutting tools, either a pair of scissors or pruning shears. The cutting instrument should be disinfected so as not to infect the cuttings to be propagated.
- Your cutting tools should also be well-sharpened to avoid damaging the tender stems while struggling to nip out a cut.
- Care must be taken to select only the healthiest and strongest stems for cutting. Focus only on the mature branches with a length of at least 3 inches.
- Ensure you only make your cuttings below the leaf nodes (that is, the point at which the leaf is attached to the stem. The leaf node is vital in propagating Pothos Plants, so we must be careful not to damage them.
- Also, select the stems bearing 3-4 leaves for the cutting.
- Your cutting tool should be angled at 45° to the stem base for a higher chance of success.
Now that you have your stem cuttings ready, the next thing is to pluck off the lower leaves on each stem, leaving only one or two. You should also separate the cuttings with more than one node on them.
Each node can be propagated into a new plant, so that’s very important. Now we’re all set for the next stage of propagation, rooting.
Rooting your Pothos Cuttings
Rooting your Pothos Cuttings

Pothos Plants can be rooted directly in the soil or water; the choice is yours. I prefer rooting in water, just as I first saw them.
As the saying goes, beauty is detailed; rooting the Devil’s Ivy in water allows you to observe every tiny piece of the growing process firsthand.
But if you’re more interested in getting a quicker outcome, rooting it directly in a soil medium will be preferred.
How to Root the Pothos Cuttings in Soil
How to Root the Pothos Cuttings in Soil
- First, prepare your potting with the appropriate soil/nutrient mix. A proper blend of perlite, rooting hormones, or natural soil mix is required for optimum plant rooting.
- Take good care to select the suitable soil sample with good drainage properties for aeration of the setup to avoid rotting of stem cuttings before rooting.
- You could also improve the airflow in your potting setup by creating artificial holes at the sides and bottom of the pot.
- Now dip the calloused tips of the Pothos Cuttings inside the rooting media (preferably honey) before planting them in the pot. The stem cuttings should be buried halfway into the soil with the leaves upright.
- The rooting hormone helps to speed up the development of roots by the pups.
- You should start noticing effective rooting in the tender Pothos Plants within 4-6 weeks of soiling them.
Watering the Rooting Cuttings in Soil
- Care must be taken while watering the cuttings. Insufficient watering leaves dried, and the stem eventually died. Excess watering can also harm the tender pups, causing rotting and decaying.
- Water should be sprayed from the first day of rooting and allowed to drain out of the pot via the aeration holes.
- After this, watering should be done at one or two weeks intervals, depending on the region’s climate.
- The potting should be placed at a point hidden from direct sunlight but with an adequate supply. You can find places under tree shades (outdoors) or a transparent window frame (indoors).
How to Root your Pothos Cuttings in Water
How to Root your Pothos Cuttings in Water
- For enthusiastic propagators like myself who want to watch and observe as the new pups grow their roots, here are the steps to follow in rooting your Pothos Cuttings in water.
- Remember that rooting in water will require you to eventually transfer the rooted cuttings to a soil setup for final development.
- All you’ll require for this setup is a glass container and natural water provided at room temperature.
- Try as much as possible to avoid processed or purified water because they usually contain chemical substances inhibiting the growth of the Pothos Plants.
- You can find some creative glass materials to use to turn your Pothos Cuttings into a beautiful sight.
- Gently place the Pothos Cuttings inside the water glass container by sliding them from the sides of the glass container.
- The leaves should be left hanging above water; they should not touch the water glass.
- The water in the glass container should be changed periodically, once in a few days, before it becomes cloudy. Also, place the setup away from direct sunlight to prevent burning up the tender leaves.
- Your stem cuttings should be fully rooted in 7-14 weeks and ready for transplanting in an enriched soil environment.
How to Transfer the Rooted Pothos Cuttings into Soil

Your rooted cuttings are ready for transplanting into the soil once you can observe the developing roots have grown up to an inch in length. Not to worry about the viability of the cuttings; they can remain in the water for up to three months.
It is advisable to transplant your rooted Pothos Cuttings as soon as the roots are well-developed to ensure their survival.
- s that will promote the growth of the new Pothos Plants.Ensure your soil mix is well prepared with the proper nutrient
- Select a cluster of several rooted cuttings to plant in one pot; this ensures the resulting young plants are richly propagated.
- The planting is done by pouring the soil mix to half the pot’s capacity, then inserting your selected rooted cuttings carefully, after which you now pour in more soil mix until evenly distributed around the stems in the pot.
- Next is to spray as much water as needed to keep the soil misty but not drenched.
- The rooted plant can now be placed under direct sunlight, but care should be taken to monitor the intensity of sunshine received daily.
- Things to do to ensure your Pothos Plants are propagated successfully
- Ensure your cuttings are done below the leaf nodes with up to 2 inches of each stem cutting.
- Avoid placing the cuttings under direct sunlight.
- Also, ensure the cuttings are not in a cold or dark environment, and they always need to get enough warmth and be given sunlight.
- After rooting, ensure you only pick healthy rooted cuttings for transplanting.
- The amount of water sprayed on the juvenile plant should be optimum. Only spray the soil around the Pothos Cuttings and not the plant leaves directly.
With all these in place, your efforts will yield the desired results.
Sadly, you can’t; for those wondering if you can also propagate Pothos Plants from leaf cuttings. Pothos plants can only be cultivated from the stem and root cuttings.
A fun fact about Pothos Plants is that they can keep growing up to a staggering height of 50ft outdoors, while Indoor propagation has seen them climb up to 3 meters (9ft).
Including a Pothos Plant in your home garden list of garden plants will be pretty satisfying.