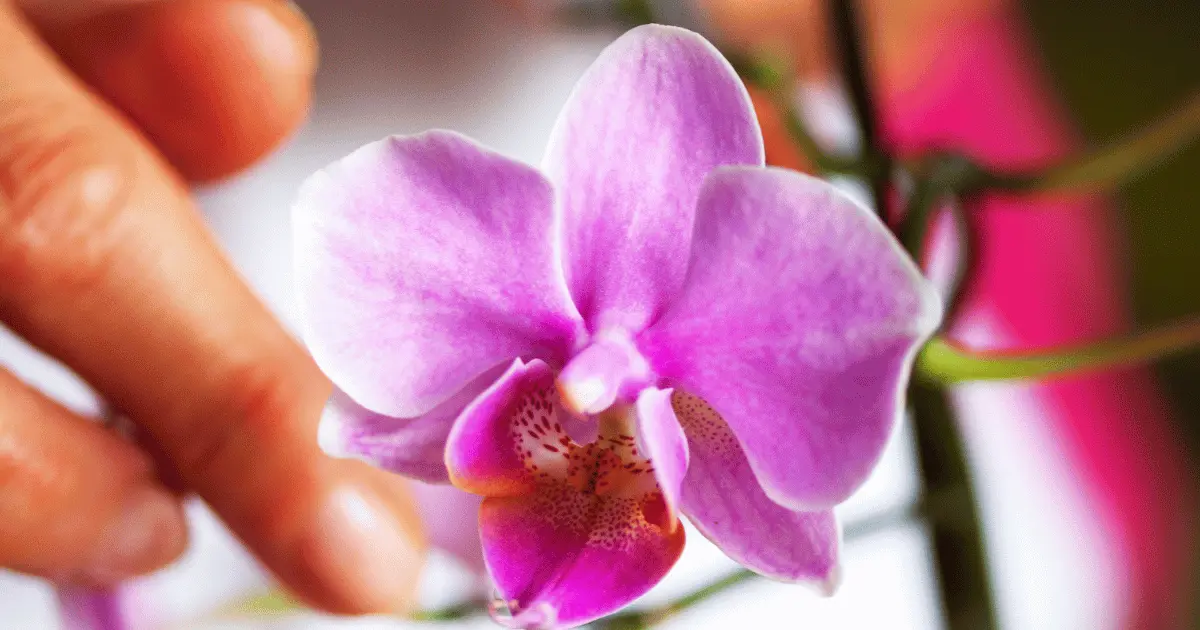
Orchids are notoriously beautiful flowers. They’re quite easy to care for and can stay alive and continue to bloom if one understands what makes them different from other plants and how to care for them.
When it comes to planting propagation, most gardeners are used to taking plant cuttings from their plants to grow new ones.
However, that is not the case for orchids. This is because many types of orchids won’t grow successfully from cuttings. There are different methods of propagation for the different types of orchids.
Learning how to propagate orchids, no matter how complicated it looks, is worthwhile if you’re a big lover of these exotic flowers.
Luckily for you, in this article, we will be talking about five different ways to propagate orchids, so keep reading and, as always, enjoy.
Methods of Propagating Orchids

Generally, the best method to propagate your orchid depends on the type you have.
For instance, monopodial orchids such as phalaenopsis have one tall, vertical stem, and aerial roots often grow from them. At the base of the stem, some nodes occasionally grow into offshoots called Keiki.
On the other hand, sympodial orchids have one horizontal stem called a rhizome. The roots grow from the bottom, and bulbs grow from the top of the rhizome.
The five propagation methods are:
- Plant division
- Back bulb planting
- Keiki propagation
- Aerial roots propagation
- Stem cutting
Unlike most houseplants, orchids cannot be propagated using leaf cuttings.
What You Need to Propagate Orchids
Propagating an orchid is not difficult in most cases, and you don’t need a host of equipment. All you need are
- Pruning shears are properly disinfected using rubbing alcohol.
- Appropriately sized orchid planters or pots.
- An appropriate orchid potting mix.
- A healthy orchid plant that isn’t blooming.
Plant Division Method of Orchid Propagation
This method of propagation is also known as rhizome propagation. What you’re doing is cutting and splitting up your plant’s rhizome.
This method works for, you guessed right, sympodial orchids. Doing this gives you two new plants and encourages more shoots to come out.
When selecting an orchid for division, ensure it has at least one new growth or node on the stem and a few pseudobulbs that store water for the plant.
Carefully remove the orchid from its planter, take off as much soil as possible and separate the tangled roots.
Then examine the root structure to choose a place to split the plant.
Usually, there is a visible natural division on the plant where it will easily split, so try as much as possible to follow this.
Using a clean and sterilized pair of shears, make a clean cut and separate the old orchid from the new one.
Plant the parts in a suitable growing medium and care for them as usual.
Their continued growth should be no issue as they both already have established root systems.
Back Bulb Planting Method of Orchid Propagation

Back bulbs are pseudobulbs that act as a water reserve for your plant but are not producing any roots or flowers.
When dividing a sympodial orchid, this back bulb propagation method is possible.
You can separate a backbulb from its parent plant either by itself or after dividing it.
All you have to do is isolate the bulb you plan to use and separate it from the plant using a sharp pair of shears.
Make sure you always sterilize your tools before use. You do not want to introduce bacteria or fungi to your new plant.
Once the bulb has been separated successfully, put it in an appropriate potting mixture and water it to induce sprouting.
Some back bulbs may sprout quickly, while others take longer. This propagation method is slow, so you’ll need to be patient.
Some back bulbs may take years to sprout stems and grow into a fully mature flowering plant.
Keiki Cutting Method of Orchid Propagation
Keiki is a Hawaiian word that means baby. It is a plantlet that may sometimes form on a stem or the base of the mother orchid.
This usually happens with monopodial orchids, and the offshoot is identical to the parent.
If your orchid is already growing a kieki, you’re in luck. Your plant is already the work of propagation for you. You need to carry out a few steps.
So what do you do if your orchid plant is already growing a keiki?
Leave the keiki alone until it has grown some leaves and the roots are at least 2 – 3 inches.
When this has happened, carefully remove the baby plant by cutting beneath the roots using sharp, sterilized shears.
After cutting, pot your new plant in a container with the same type of soil you used for the mother or in well-draining soil.
Water properly and apply the same care you give its mother to it. Seeing as it has already established a root system, it should continue growing fine.
Aerial Roots Cutting Method of Propagating Orchids
Aerial roots are long roots that often grow off the stems of monopodial orchids. They can be found dangling from nodes along the vertical stem.
To propagate your orchid plant from these roots, carefully trim them from your plant’s main stem, and plant them in a pot to sprout new growth.
Ensure they are kept in a humid environment with plenty of indirect sunlight.
It would take some time, but the roots would eventually anchor themselves to the soil and produce new growth.
Stem Cuttings Method of Orchid Propagation
The stem-cutting propagation method is used for orchids with new growth areas or nodes.
This method is best for sympodial orchids, but monopodial orchids can be propagated using this method.
To propagate orchids from stem cuttings, select a stem about a foot in length.
For the best results, choose a stem that has undergone at least one flowering before removing it from the main orchid.
Ensure that the plant has already finished blooming so that it can focus all its energy on the propagation process.
If propagating a monopodial orchid, cut off the top half with a sharp pair of shears. Leave the bottom half with the roots still in the original container.
The bottom will continue to grow just fine; if everything succeeds, you’ll end up with a new plant just as beautiful as the former one.
If you are working with a sympodial orchid, cut one cane from your plant and divide the stem into smaller sections. Ensure that each section has at least two nodes on it.
Now, place each section in sphagnum moss or orchid potting soil.
Make sure to keep the moss damp, as this will encourage rooting. You can also cover the potting container with a plastic bag to raise the humidity, which is helpful for orchid growth.
Place your new plant in a place with bright light, and I’m three to four months, you’ll begin to notice new growth, especially in the nodes along the cutting.
While growing orchids from seeds is another method of propagation, it is difficult and time-consuming.
Why bother yourself when you have five other easier, straightforward methods before you?
Now that you have this vital information, you can multiply the orchids in your garden and make someone happy by gifting them a new plant.