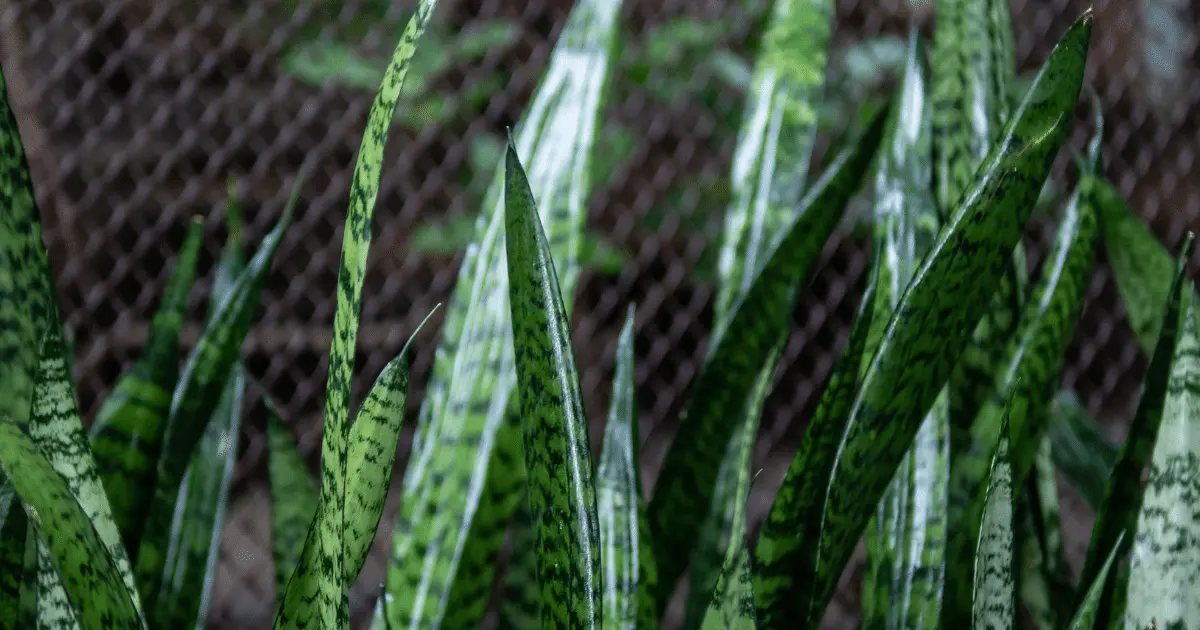
Among the favorite air-purifying plants known to propagators and garden enthusiasts, the snake plant (Dracaena trifasciata) comes top of the list.
They’re a tough and resilient bunch, possessing long streamlined fleshy leaf blades and requiring very little sunlight and moisture for their propagation.
Having a Sansevieria in every room is highly beneficial; they possess antitoxin properties and improve oxygen concentration by releasing cool oxygen gas into their surroundings.
And for clarity, you may have heard the Snake Plant is referred to as Mother In law’s Tongue or Viper’s Bowstring Hemp; these all refer to the same plant. Home garden lovers decided to be more imaginative in naming this wonder plant.
This article presents an easy-to-follow layout of successfully propagating the Snake Plant. So let’s get into the details.
There are two popular methods of propagating Sansevieria plants, both of which I have applied over the years:
- Propagation by Division
- Propagation by Cuttings
Propagating Snake Plants by Division
Propagation of Snake Plant by Division is straightforward to execute, even for a first-timer. The process aims to successfully divide a healthy Snake plant from any section and propagate the resulting divisions.
This is an effective method of rejuvenating old Sansevieria plants and reproducing new ones. There is a particular advantage in propagating by division which isn’t possible by cuttings: propagation by division produces new plants with identical similarities with the parent plant.
In other words, if you wish to have a new snake plant that looks exactly like the old plant (in terms of leaf patterns and sizes and leaf coloration and textures), then propagation by division is the right way to go.
- Using a pair of scissors, knife, or pruning shears, we start with you taking the chosen Snake plant out of its pot. Be careful not to damage the roots.
- Please use your pruning shears or scissors to separate each root nodule while ensuring it has its leaves still attached.
- After separating the divisions with their roots, prepare your soil mix or potting mix in a container and plant each in its soil mix setup.
- Ensure the soil mix is well aerated with holes cut along the sides of the container. This is to allow the water sprayed on the soil mix to drain immediately and prevent the divided Sansevieria’s rot.
- Apply sufficient water to keep the mix moist but well-drained. Water should be sprayed periodically on the setup once you observe the soil mix is getting dried.
- Place the setup strategically where indirect sunlight can reach it sufficiently.
Your new Sansevieria plants should begin rooting within 4-8 weeks of planting.
Propagating Snake Plants by Cuttings
Propagating Snake Plants by Cuttings
Sansevieria cuttings are the most commonly used method of propagating Snake Plants. The process is quite simple to learn, even for newbie propagators.
Propagating Sansevieria plants by cuttings produces new plants that have no resemblance whatsoever with the parent plant.
There are two basic options to adopt in this method: you either propagate the Snake Plant directly in a previously prepared soil mix potting, or you first develop the roots of the cuttings in water before transplanting in a soil mix potting.
Let’s get into the details correctly.
Rooting Snake Plant Cuttings in Water
Rooting Snake Plant Cuttings in Water
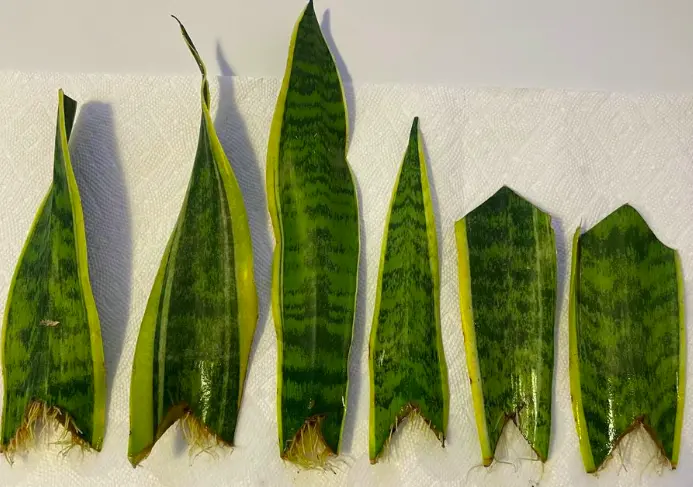
The only technical aspect of this process is cutting the Snake Plant leaves for rooting.
- Select the tallest and healthiest-looking leaves for the process.
- Cut the selected leaves at the base, close to the node (area of attachment to the parent soil). Ensure that the leaf cuttings are a minimum of 5 inches; cuttings with shorter lengths have always proven difficult to root.
- Now get a glass container and fill 2/3 of it with water…
- The leaves cut from the parent Sansevieria plant need to be trimmed or cut into two or three parts. This strategy eventually produces more Snake Plant pups from a single old Sansevieria plant.
- Place the cuttings in the water container with the inner parts facing upwards. Now position your rooting setup where adequate sunlight reaches the cuttings while ensuring the sunshine isn’t hitting the structure directly.
- Also, ensure to change the water in the glass set up every week to prevent the replication of bacteria, fungi, or other micro-infestations.
With all these successfully crossed out, you should expect to start noticing root sproutings on the cuttings after two or three months.
Once your Sansevieria cuttings are well rooted enough, the next phase of the propagation process is transplanting the rooted cuttings to a potting with a well-prepared soil mix.
Rooting Snake Plant Cuttings in Soil
Rooting Snake Plant Cuttings in Soil
The Snake plant cuttings can also be propagated faster by rooting and planting directly in a home gardening soil mix.
The secret to successfully propagating your Snake Plant Cuttings in soil potting is the choice of the soil sample and selected soil potting mix.
Some of the most commonly used examples are the soil mixes for succulents, such as Hoffman’s Soil mix, Bonsai Jack, and Cactus Cult mix.
If you’d like to try on some homemade soil mix variants, see here for some exciting ideas.
Always remember that perlite and natural honey are excellent recipes for your homemade soil mix potting.
Next is to ensure your Snake Plant Cuttings are properly callused (healed) before planting in the soil mix potting. Freshly severed cuttings will rot and not grow if propagated immediately.
Your Sansevieria cuttings should be healed in about 5-12 days after cutting. Just ensure there is adequate indirect sunlight to hasten the process.
You can place the cuttings on an aluminum foil or dry surface while they’re healing.
- Now that you’re set to plant the callused cuttings pour your prepared soil mix into the pot or growing container and ensure it’s filled to 2/3 of its capacity.
- Next, insert the Snake Plant Cuttings into the pot, slightly adding pressure. Dig the cuttings up to 3 inches into the soil mix is safest.
- Now fill up the pot to its maximum capacity with the remaining soil mix.
- You can shake up the potting to fill the empty spaces with soil.
- Wait to spray water on the potting, and allow it for another 3-6 days to allow the setup to relax in its new environment. Afterward, you should water it thoroughly, ensuring the water drains out immediately.
- Subsequently, depending on the climate, you can water it once a week or two.
- Your potting should be positioned to receive adequate sunlight, but not directly. You should find strategic corners in the kitchen, dining area, or outside, in the garden, under a shaded tree.
Your new plants will be fully developed, from cutting to rooting, to planting, in 6-8 months, so it takes a lot of patience. However, there will be no dull moment because once you begin, you’ll find it more interesting to watch them grow as the day passes.
The new Snake plants can be placed in every room at home or in official settings, so it’s lovely to share with friends, colleagues, and family.