At the end of every growing season, I would lament over my annuals (geraniums being a part of this group) dying due to the drastic drop in temperature brought by the winter. Although some geraniums will overwinter with a bit of care, I decided to learn how to propagate my plant instead.
This decision helped me in more ways than one. I wasn’t affected by the losses that followed winter any more, and I could easily multiply my plants.
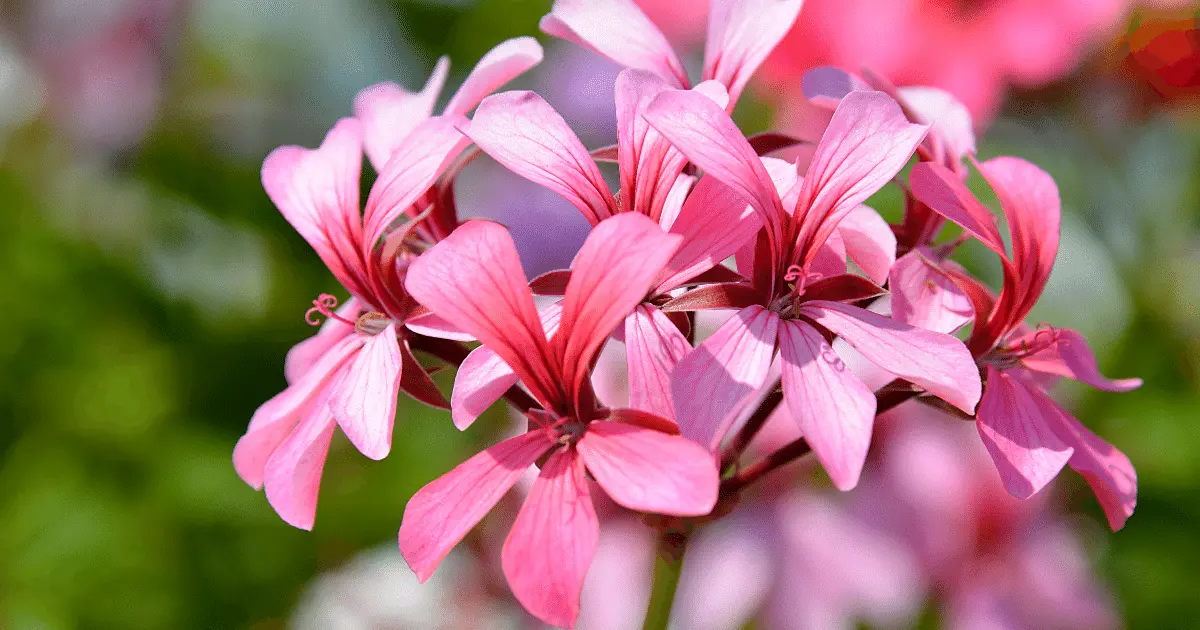
Geraniums are some of the most popular houseplants and are very easy to propagate. Keep reading to find out more about this.
How do I Propagate My Geranium Plant?
Geraniums can be propagated by taking cuttings and rooting them either in soil or in water. This is a very easy process, although it does not have a 100 percent guarantee of success.
The best thing about growing from cuttings is that you can keep the parent and be guaranteed a fresh set of flowers with the new plant, and if the parent should die during the winter, you’ll have a replica to carry on with.
Supplies Needed
To propagate geranium plants using cuttings, you would need the following
- A sharp knife or pruners
- A healthy geranium plant
- Jar, vase, or glass cup
- Water
- Plant pot
- Potting soil
When to Take Cuttings
One major bonus about propagating geraniums is that they do not have a dormant period, so they can be propagated at any time of the year.
However, for the best results with your plant so that they will bloom within the year of propagation or next year, early spring or late summer are the best times to take cuttings.
Cuttings made early will bloom that summer, while late ones will grow large plants that will bloom the following summer.
How to Take Cuttings
When selecting a plant to take cuttings from, ensure it is healthy and not flowering.
Choose a stem that is sturdy and has healthy leaves on it. Avoid the newest growth as those may be too young, and the older ones are woody.
Also, check for discolored, spotted, and damaged foliage and avoid those too.
After selecting your desired stem, make a clean cut using your knife or pruners just above a leaf node. Cutting here will encourage growth on the mother plant.
The cuttings do not need to be too long. A length of four to six inches would be good.
Remove the lower leaves and trim the cutting just below the next node. Leave at least two leaves at the top.
Some plants do well with dipping the end in rooting hormone, but this would be detrimental to the health of the geranium cutting.
Some advice is dipping in honey or a solution of vitamin C and water, but I’ve seen no proof that these work.
Rooting Cuttings in Water
After preparing your cuttings, fill a jar, vase, or glass cup with some water.
Place the stem in the water so the stem is covered, but the leaves are not touching the water. This is because geraniums are prone to rotting.
Place the container in a location with access to bright indirect light and change the water every few days to keep it fresh.
After about four weeks, you’ll notice the new roots on your cuttings. Now, you should transplant it into a pot filled with fresh potting mix.
Make sure the container has drainage holes to prevent root rot caused by excessive moisture.
Once you have planted your new geranium successfully, give it the same care you would give any other geranium in your garden.
Rooting Cuttings in Soil

An alternative method is to root your cuttings directly in potting soil. For this method, you won’t have to transplant the plant after it has rooted.
Choose a clean pot or container with drainage holes that is four to six inches deep.
Fill the container with peat moss-based potting soil to about half an inch below the rim.
Make a hole in the potting medium using a finger, pencil, or any small object. Push it far down enough to cover all the places leaves were removed from because the roots will grow from there.
Push the cutting down the hole and press the soil around it to anchor the stem firmly.
Water lightly, enough to moisten the soil, and avoid watering the cutting to prevent the growth of botrytis.
Geranium cuttings prefer to be in a warm place to enable them to root so that you can place them on a sunny windowsill, provided the light is indirect.
You can use a heating mat or propagator to keep your cutting warm. Some people like to create a mini greenhouse by placing a bag over the pot.
This will help maintain the required temperature and moisture, but if you choose to use this method, be sure not to seal the bag, or your cutting may overheat.
Water the cutting lightly as the roots develop, preferably when the soil is dry.
After a week or two, your geranium cutting should have rooted. An indication of this is new growth at the top of the stem.
If you planted more than one cutting in one large pot, transplant the individual plants to separate pots once they have established new roots.
Let your cuttings sit for three days first if you want to propagate your geranium in your outdoor garden directly in the ground.
This would make the cut tip develop a callus which will help protect the cutting against fungus and rot in the non-sterile garden soil.
I found it helpful to take cuttings of the geraniums that I grow as annuals due to the freezing winter weather.
And it pleased me greatly to have beautiful plants indoors when outside is barren and frozen.
It would be best if you tried geranium propagation too. You’ll have positive stories to tell at the end, just like I do