I would be the president if there were ever to be a fan club for prayer plants. If only one person alive liked them, that would be me, and I’ll tell you why.
Their leaves with beautiful pink and red variegations, the way they fold up at night like praying hands (hence the name), and the ease with which they can be propagated make it clear for anyone to see why they are favorites.
I remember the excitement I felt when I got my first prayer plant. Fast-forward to now; I have more than 6 in my collection, which increased solely by propagation.
In this article, I’ll give you every detail on propagating prayer-plants. Believe me when I say it is worth the try.
The Methods of Propagating Prayer Plant

If you love your prayer plant too, propagation makes it easy for you to have another. Whether you want to place a new one in another room or give a friend, there are several methods you can employ.
These methods are on different levels of difficulty, not that you would find any one difficult to do.
Some of the methods involve taking cuttings from your already existing plant. Without wasting more time, let’s dive in.
Water Propagation Method
Water propagation is by far the easiest and most popular method of propagating prayer plants, as well as other houseplants.
Before starting this process, there are a few things you’ll need close to you, which include:
- Sharp scissors or shears
- Glass container
- Clear plastic bag
- Rainwater or distilled water
- Pot
- A potting mix of peat moss and perlite or vermiculite
- A prayer plant to take cuttings from
- Rooting hormone
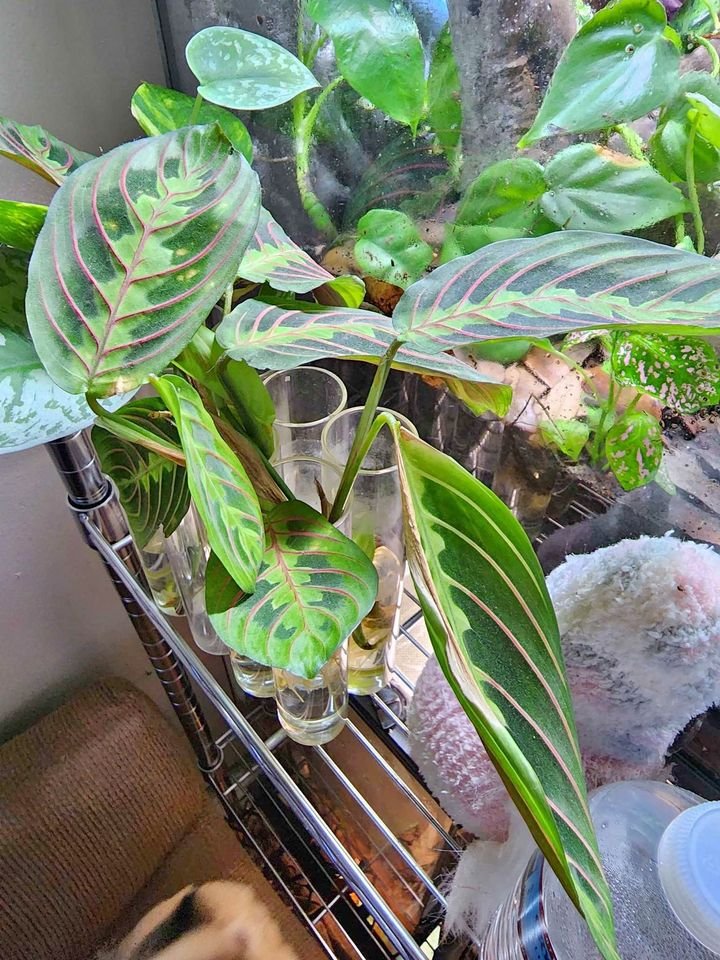
You can use any water container, but I prefer to use glass. It affords me the view of the cuttings as they root.
When taking your cutting, look for nodes (a bump that leaves grow out of) along the stem. It is from the nodes the new roots would come out.
Cut about an inch below the node using your sharp scissors or shears. Always sterilize these tools before using them.
After successfully taking your cutting, fill your glass container with room-temperature rainwater or distilled water.
If you don’t have any of these, you can use tap water but let it sit overnight before you use it. This is to let some chlorine evaporate and bring it to room temperature.
Place your cutting in the water, so the node is submerged but the leaves aren’t. If there are any leaves that might go into the water, remove them to prevent rot.
You may dip your cutting in some rooting hormone to provide a bit of a boost in the growth of the roots.
Monitor the water for any signs of cloudiness or algae growth, and change it out every week. This would reduce the risk of harmful elements hurting your cutting.
Cover your cutting with a clear plastic bag and place it in indirect sunlight. This way, it would be kept perfectly warm and humid.
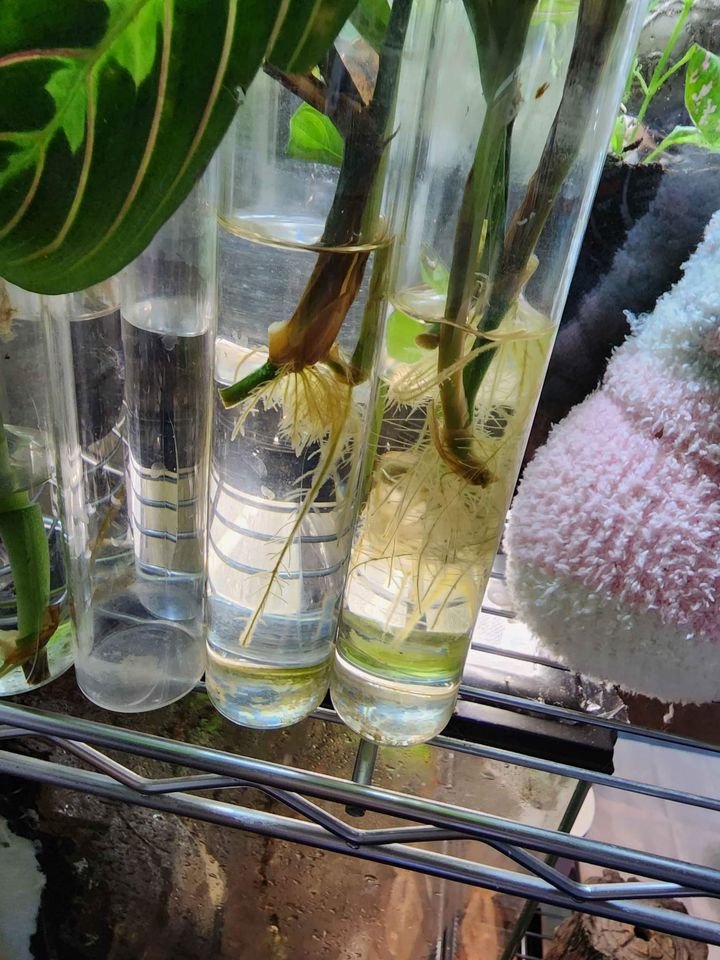
In most cases, roots would start to appear in two to three weeks. When they’ve grown one or two inches long, it is time to transplant your cuttings.
Fill your pot up with your potting mixture, then create a small hole in the middle, gently place the cutting inside it, and close the hole up, pressing the soil together to support the stem.
Ensure that you keep the soil moist to encourage growth. You can continue covering the plant with a plastic bag to keep the humidity level high.
Now, all you have to do is be patient and let your plant grow. Provide it with adequate care, and you’ll have nothing to worry about.
Soil Propagation Method
Soil propagation is similar to water propagation, only that the cutting goes straight into the soil instead of rooting in water first.
The main disadvantage of this method is that it takes longer, and you won’t be able to monitor what is happening with the roots.
The pieces of equipment you’ll need for this are the same as we already listed above, only you won’t be needing the water vessels or the water itself.
First, take your cutting as directed earlier. Make a clean and quick cut below a node, and make sure your tool is sharp.
Using a blunt pair of shears or scissors can damage the plant tissue.
Next, fill your pot with a potting medium suited for propagation. You can mix peat moss, compost, perlite, or vermiculite.
Pour enough water into this soil mix to moisten it.
Next, take your cutting and dip the cut end in some rooting hormone. This would help the plant establish new roots faster.
After that, plant the cutting in the moist soil such that the node is completely covered, but none of the leaves are in contact with the soil. Make sure the plant is standing upright.
Next, use a plastic bag to cover the pot. This helps to maintain the humid environment around the plant as it grows.
Make holes in the bag to allow airflow and keep the leaves from touching the bag.
Your new prayer plant would do best in a bright environment; keep it out of direct sunlight. Also, provide plenty of water to keep the soil moist.
When you see new growth in your cutting, you’ll know the plant has started to establish itself.
Layering Propagation Method
Layering is somewhat like the soil propagation method, but in this case, the stem is not cut off from the parent plant immediately.
To layer your prayer plant, mix a pot with potting and moisten it. Then, place it beside the pot containing the parent plant.
Now, rest the stem to be propagated so that a node sits directly on top of the soil. You can use a paperclip or a pin to hold it in place.
As long as the node is in contact with the soil, roots start to grow. Once they have developed and are firmly anchored to the soil, cut away the stem from the original plant, and voila! You have a new prayer plant.
This method is best to try if your cuttings keep failing. Leaving the propagating stem to the parent plant allows it access to resources from the parent while it establishes new roots, so this method has lower chances of failure.
Root Division Method
Root division is a clever method of propagating prayer plants, especially if your plant has outgrown its container.
You’ll need a pot or two, peat moss-based potting mix, and a pair of shears or scissors.
Remove your plant from the container and carefully remove the soil from the roots so you can see them.
Gently work the roots apart. You’ll need a lot of patience for this section as they can get quite tangled up.
If they are too difficult to separate, you can use your sterilized scissors to cut them apart but try to keep them as intact as possible.
Also, inspect the roots for indications of rot or fungus. They should be firm and yellow or white. If you see any soggy, black, or slimy roots, cut them off.
After separating the plants, quickly pot them in individual containers with fresh soil and water thoroughly. Give them warm and humid conditions to help them settle.
Is it Possible to Propagate Prayer Plants Using Seeds?

Technically, it is possible to propagate prayer plants using seeds seeing as they produce flowers.
However, this is a difficult process because not only is it hard to get seeds from this plant, but attempting to purchase them online may deliver you into the hands of crooks and thieves that would love to cheat you.
There are easier ways to propagate this plant, so I believe the only reason you should attempt this is as an experiment.
Regardless of what method you choose to propagate your prayer plant, the best time for you to do it is in spring at the start of the growing season.
Now that you’ve seen all the different ways to propagate prayer plants, make your choice and begin. And once you learn, you’ll never have to worry about expanding your collection again.